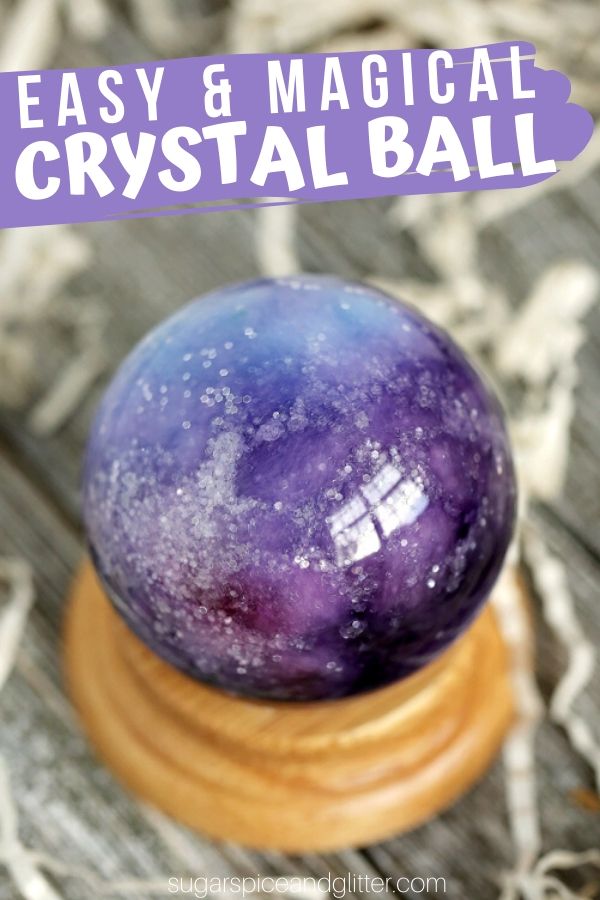
MAGICAL CRYSTAL BALL CRAFT
There are so many themes that this easy DIY Crystal Ball works for:
- Disney’s Haunted Mansion (or a general Disney Halloween) – just like the crystal ball Madame Leota becomes trapped in
- Labyrinth (yup, the classic David Bowie film from the 80s – a must-watch)
- Wizard of Oz (from the caravan scene)
- Gypsy/Fortune Teller theme
- Harry Potter (like the prophecy orb)
- Galaxy Theme
- Star Wars theme (maybe even add a small plastic ship or two to the globe – or mini light sabres)
You can even swap out the colors for a unicorn crystal ball or mermaid crystal ball – and use themed glitter, too. You can use glass paints to paint a scene on the crystal ball. Or even use a wood burner to etch a name or favorite quote on the wooden base. The possibilities are endless.
You can use GLOW IN THE DARK paint to make this crystal ball come alive at night.
This holographic star glitter would be gorgeous. This glitter pack has seashells, leaves, shapes – and you can use the leftovers for other crafts or pretty at-home manicures.
Our DIY Crystal Balls have lasted for months – I thought the water might evaporate or change color by now but they are still just as gorgeous as ever. We glued the lid shut on ours to prevent curious hands from opening it, but you could leave it unglued and swap out the fillings/theme whenever the mood strikes. (Update: we’ve now had our crystal balls on display for 2 years and they are still going strong! Distilled, filtered or bottled water is definitely the way to go!)
If your kid loves this craft, also check out our DIY Snowglobes – we’ve done a DIY Christmas Snow Globe and a DIY Halloween Snow Globe with flying bats! (Both posts also have video.)
Check out our quick how to make a galaxy snow globe craft video, and then don’t forget to scroll down to grab our free printable instructions:
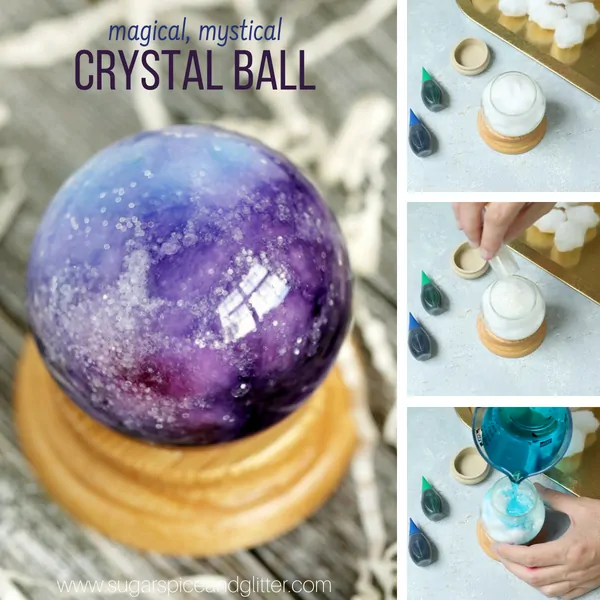
MATERIALS FOR GALAXY CRYSTAL BALL CRAFT
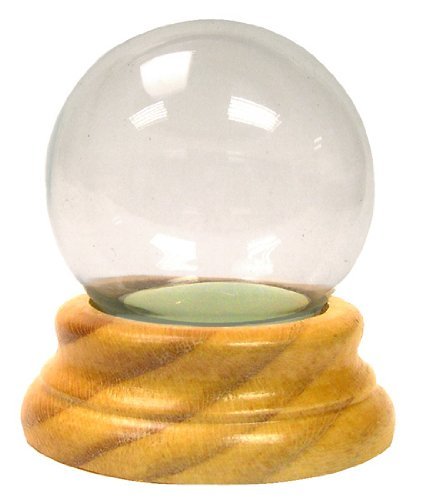
- Plastic water globe (we used this one with a wooden base)
- Cotton balls, as needed
- Water, as needed – try to use filtered or distilled water for this craft if you want to keep your crystal ball around for awhile
- Food coloring (we used blue, green and red – use whatever colors you want your globe to be)
- Glitter, optional
- Strong glue (like hot glue), optional
Tip: make sure that your globe is waterproof before starting this craft by adding water, securing the lid and hanging upside down or shaking lightly.
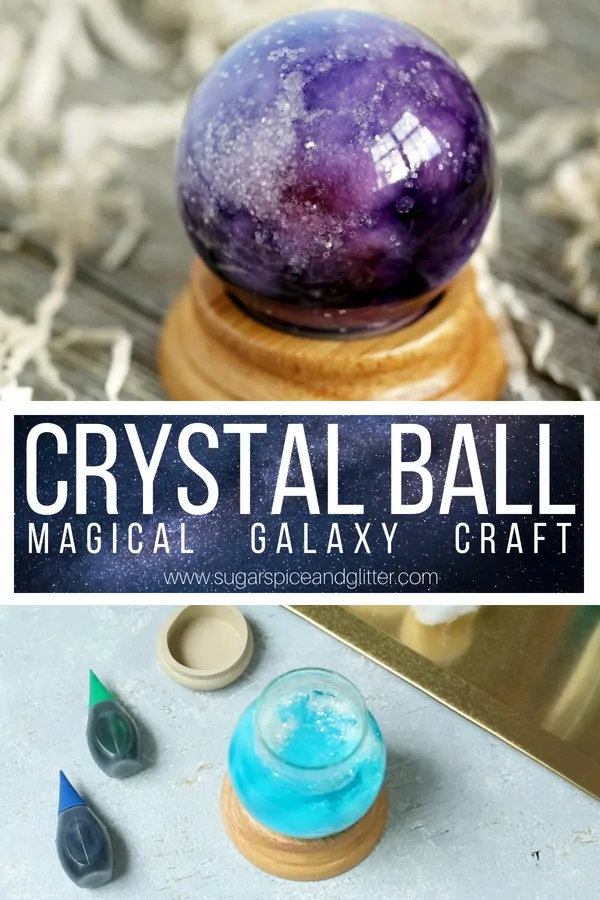
HOW TO MAKE A CRYSTAL BALL
Stretch and tear apart your cotton balls.
Sprinkle a bit of glitter into your snow globe.
Place your shredded cotton balls in your snow globe. You want to fill it to the top and you may want to add more after adding water so ensure you have plenty on hand.
Add more glitter to your snow globe – you can optionally use a kebab stick or chopstick to push the glitter into other areas.
Place your water in as many cups as you want colors of water.
Dye each cup of water to your preference. We used pink, purple and blue. Dye a little darker than you want your end product to be as the cotton balls lighten up the project.
Add a bit of colored water at a time to the snow globe. Make sure to alternate colors so that you get nice swirls of color.
Fill the snow globe to full – you may want to do this over a tray, container or the sink so that excess water can come out when you add the lid.
Secure the snow globe lid. Place in the holder – you can optionally glue it in place if you desire.
PIN THIS MAGICAL CRYSTAL BALL CRAFT:
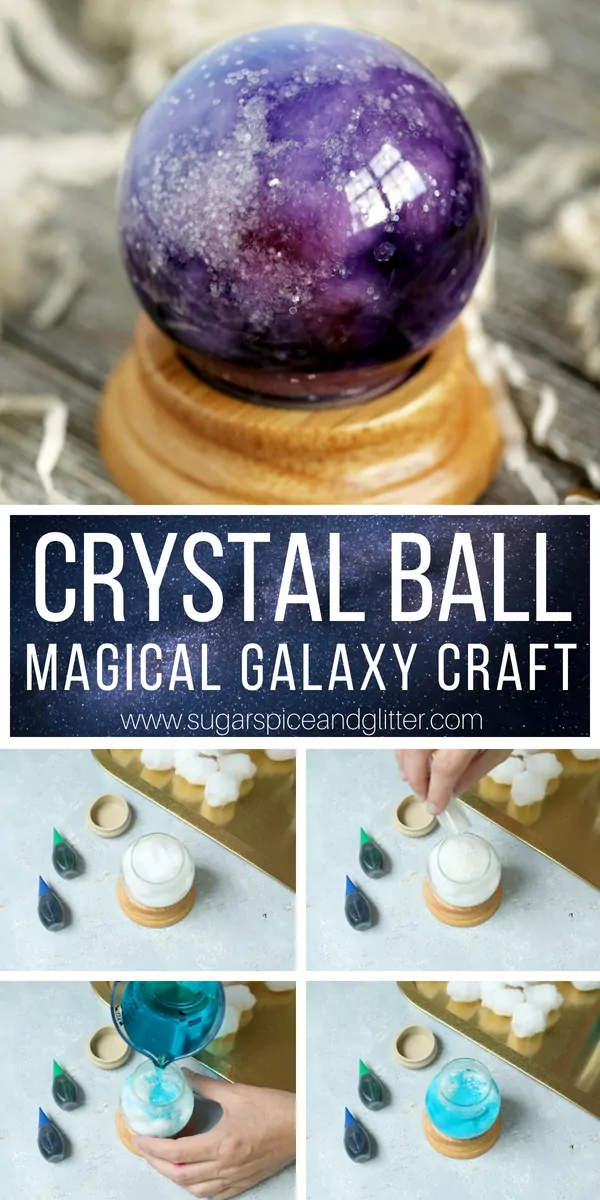
Grab your free printable for our DIY Crystal Ball Snowglobe:
YIELD: 1 CRYSTAL BALL
MAGICAL CRYSTAL BALL CRAFT (WITH VIDEO)
4.0 Stars (4 Reviews)
A magical crystal ball craft that can be personalized in so many ways! Perfect for a Disney or Harry Potter theme.
PREP TIME5 minutes
ACTIVE TIME5 minutes
TOTAL TIME10 minutes
DIFFICULTYMedium
MATERIALS
- Plastic water globe
- Food coloring (we used blue, green and red - use whatever colors you want your globe to be)
- Glitter, optional
- 5-10 cotton balls, as needed
- Strong glue (like hot glue), optional
INSTRUCTIONS
- Stretch and tear apart your cotton balls.
- Sprinkle a bit of glitter into your snow globe.
- Place your shredded cotton balls in your snow globe. You want to fill it to the top and you may want to add more after adding water so ensure you have plenty on hand.
- Add more glitter to your snow globe - you can optionally use a kebab stick or chopstick to push the glitter into other areas.
- Place your water in as many cups as you want colors of water.
- Dye each cup of water to your preference. We used pink, purple and blue. Dye a little darker than you want your end product to be as the cotton balls lighten up the project.
- Add a bit of colored water at a time to the snow globe. Make sure to alternate colors so that you get nice swirls of color.
- Fill the snow globe to full - you may want to do this over a tray, container or the sink so that excess water can come out when you add the lid.
- Secure the snow globe lid. Place in the holder - you can optionally glue it in place if you desire.
RECOMMENDED PRODUCTS
As an Amazon Associate and member of other affiliate programs, I earn from qualifying purchases.
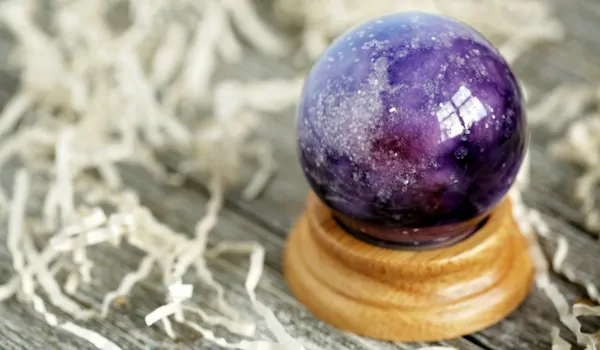
This DIY Magical Crystal Ball Craft is a gorgeous craft that you and your kids can do together in less than 15 minutes. It’s a great craft for rainy days or a Harry Potter/Haunted Mansion/Wizard of Oz movie night!
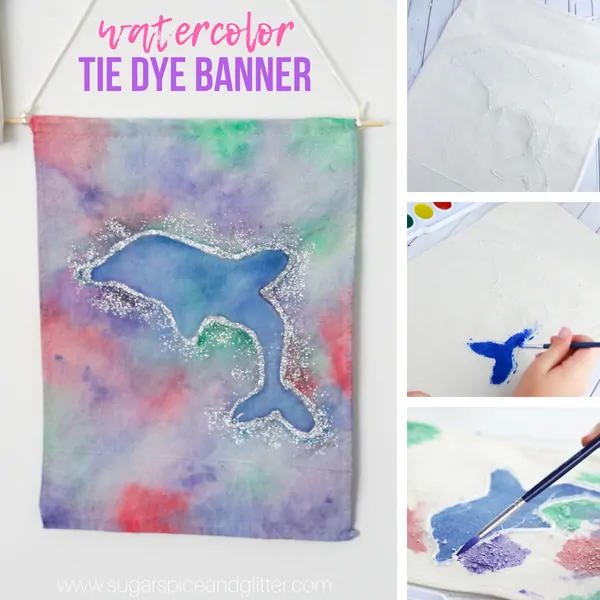
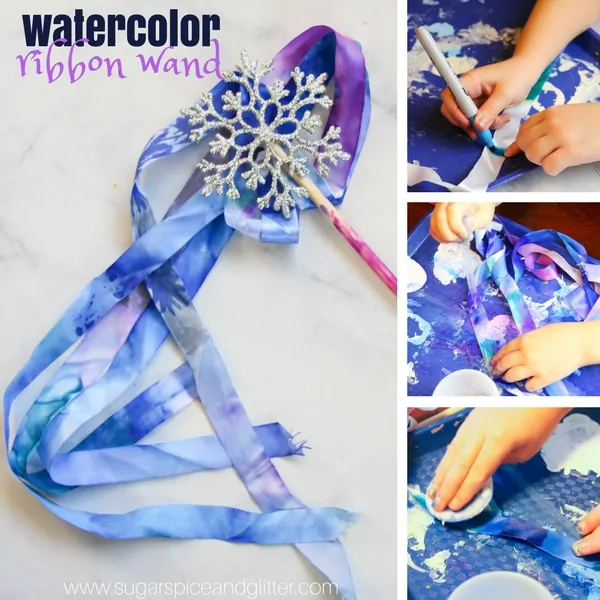
For more magical craft ideas, check out our Watercolor Dolphin Banner or our Watercolor Ribbon Wand craft.


Comments
Post a Comment