Fun DIY Kaleidoscope Kids Craft
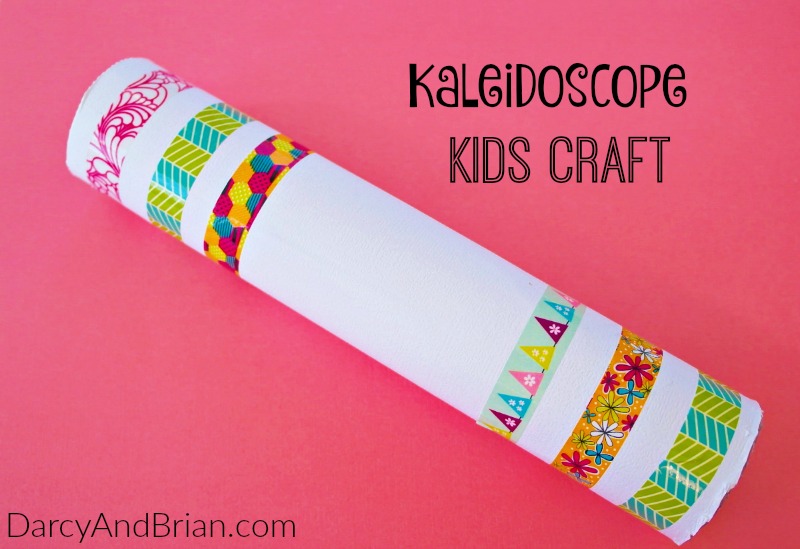
This kaleidoscope kids craft activity is fun for the family to work on together. We're going to show you how to make your own kaleidoscope with aluminum foil, beads, and a paper towel tube.
This one definitely requires adult supervision and assistance if you're making it with preschoolers.
Crafting is an excellent opportunity to spend quality time together and bond. We have lots of fun craft ideas for kids and even some tips for handling messy craft activities.
My daughter gets really excited when I work on craft projects with her. So grab your supplies and make this a family activity!
I don't know about you, but I have an abundance of paper tubes. I keep setting them aside for some of thes superhero craft activities, but it's like they multiply when I'm not looking!
Although this homemade kids kaleidoscope activity doesn't function exactly like the real thing, it is easy to make and will look similar when viewing it.
RELATED: Do your kids love doing science experiments at home? Try our Easy Melting Rainbows Science Experiment and Balloon Air Pressure Experiment.
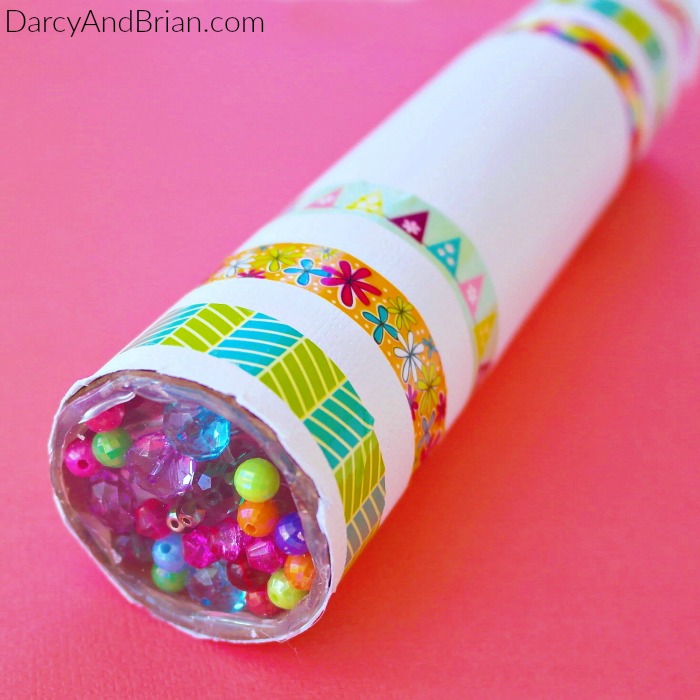
DIY KALEIDOSCOPE KIDS CRAFT
This post contains affiliate links. We may earn a commission if you make a purchase.
It is not the type of activity I can set up for my kids to do while I work on something else, though you could keep them busy decorating for a few minutes first.
KALEIDOSCOPE CRAFT MATERIALS:
- Paper towel tube
- 12 x 12 card stock or scrapbook paper
- Thin clear plastic (can be scrap from packaging)
- Colorful translucent beads
- Cardboard
- Aluminum foil
- Hot glue gun
- Scissors
- Marker
- Washi tape or other decorations (optional)
If you don't have these craft supplies on hand, this kaleidoscope making kit looks pretty good too.
HOW TO MAKE A HOMEMADE KALEIDOSCOPE INSTRUCTIONS:
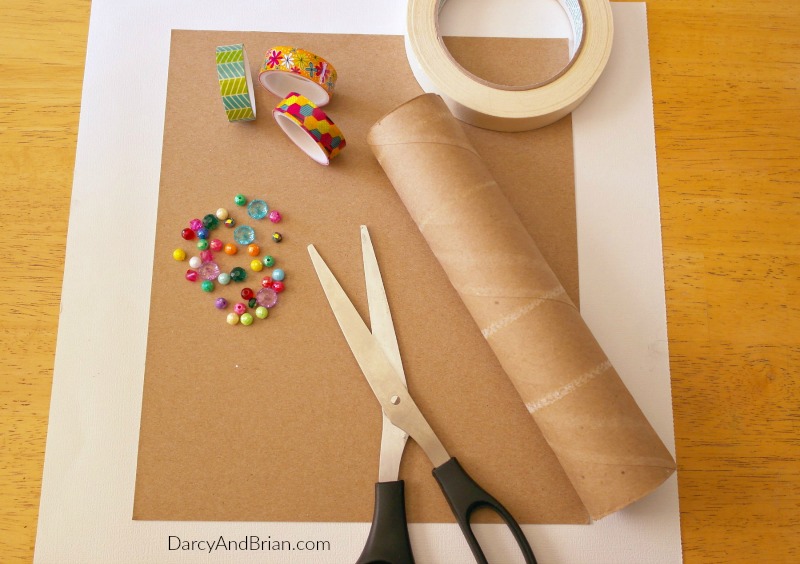
Start by gathering up all of your supplies.
If you are using plain white paper, you can have the kids color and draw on it first.
Squeeze glue all over the scrapbook paper and roll the paper towel tube up in it.
Hold it together for a few seconds to give the glue time to stick.
Cut any excess paper from the ends.
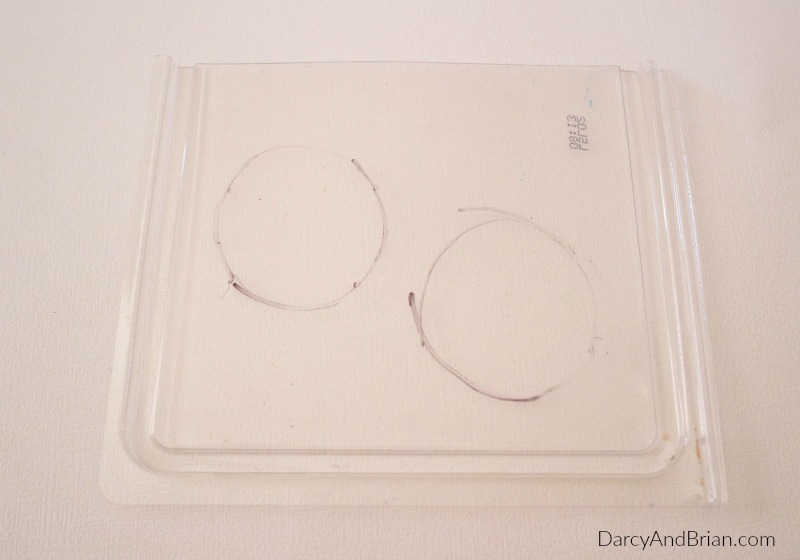
Trace the end of the paper towel tube on the scrap plastic three times and cut out all three circles.
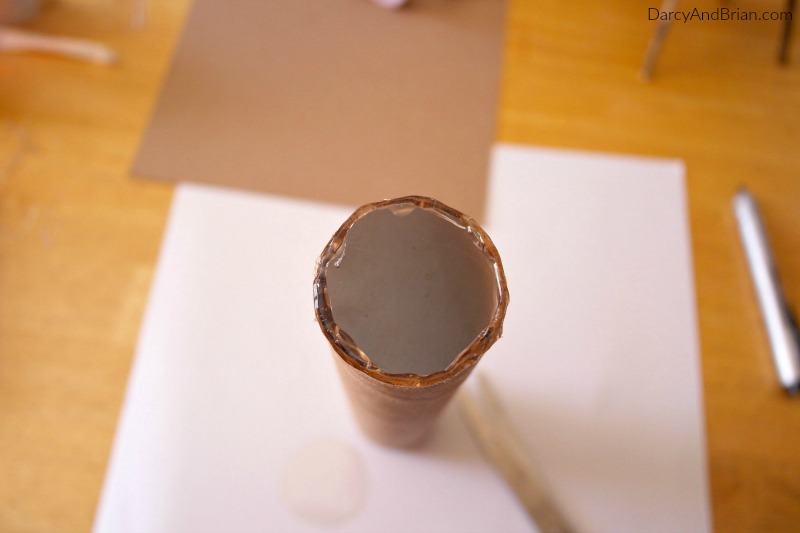
Hot glue one circle on the bottom end of the paper towel tube.
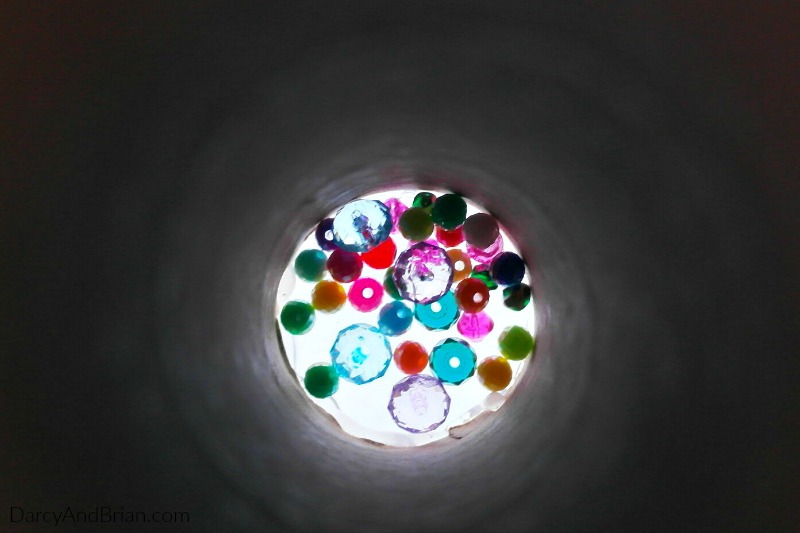
Drop your beads into the tube. Put enough to almost cover the plastic. Then place the second plastic circle inside the tube.
You will need to use a pencil or marker to push it down to the bottom and loosely cover the beads.
Do not push it snug up against them! If it is too tight, then the beads won't move around between the plastic discs.
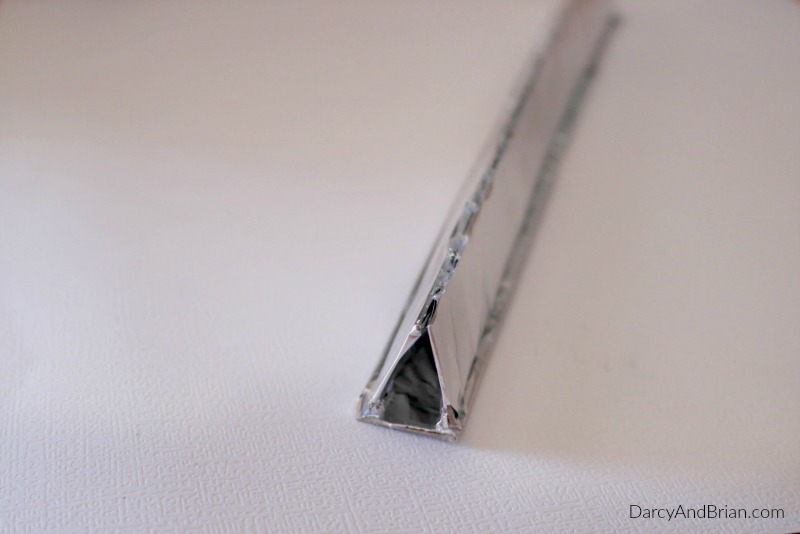
Cut three strips of cardboard that are 1 inch wide and almost as long as the tube you are using.
Cover each strip with foil.
Glue them into a triangle shape and place inside the tube.
This will create the kaleidoscope effect when the kids look inside!
Note: The triangle pieces need to be almost as long as the tube. I'd say just a little shorter to make sure the end cover goes on right.
Then glue the three 1″ pieces together into a triangle and slide into the tube. The triangle piece should be pretty snug between the plastic ends.
I would slide the triangle in then place the 3rd piece of plastic on the end (without gluing yet) to check the length.
If the triangle part is too long, cut more off the end.
If it seems too loose inside, you could place glue on one end, sticking it to the plastic.
Almost done! Now, glue the last plastic circle on the open end of the paper towel tube. This will be the end they look through.
Let the kids decorate with Washi tape, stickers, or color on it if they didn't already.
Once they are done, hold your homemade kaleidoscope up to the light and turn to view!

Comments
Post a Comment